The Blog
WELCOME TO
I'M Reed
I’m a photographer based in Houston, TX that specializes in sophisticated wedding and high school senior photography.
GET SOCIAL
Facebook Community
My Senior Posing Formula // The Summer Series
June 23, 2021
My Senior Posing Formula | Guest Post from Leslie Kerrigan
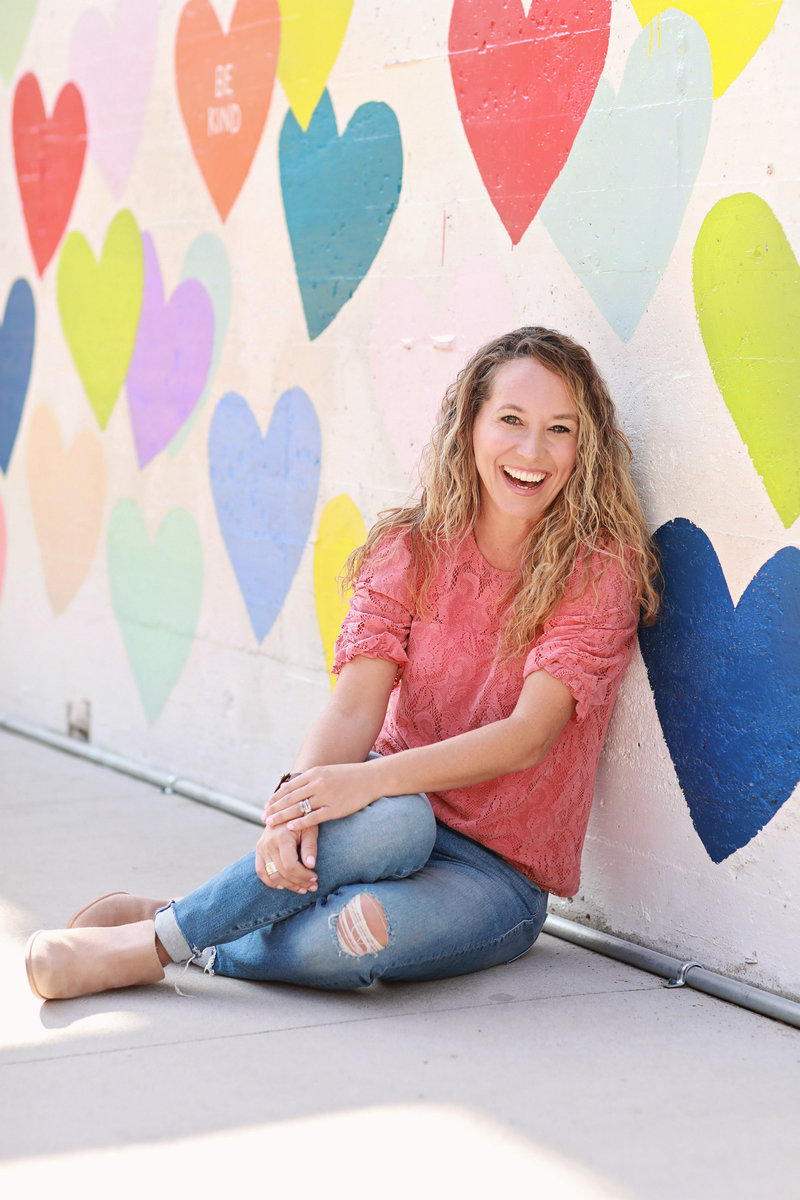
Leslie Kerrigan is a high school senior portrait photographer based in South Carolina. In addition to running her own successful senior photography business, Leslie Kerrigan Photography, Leslie is the creator and educator at seniorologie.com, a total resource for the photographer looking to specialize in high school seniors. Seniorologie has a variety of free resources for photographers in the form of a podcast, free downloads, Youtube videos, blog posts and more. Leslie also has online educational courses available such as The Social Media Academy and The Spokesmodel Academy as well as a combination online and in-person six month intensive training for the photographer who is ready to completely build a successful senior photography business called The Seniorologie Semester. The Semester opens for enrollment on August 3 and includes six months of online training plus an in-person retreat. For more information, be sure to visit seniorologie.com.
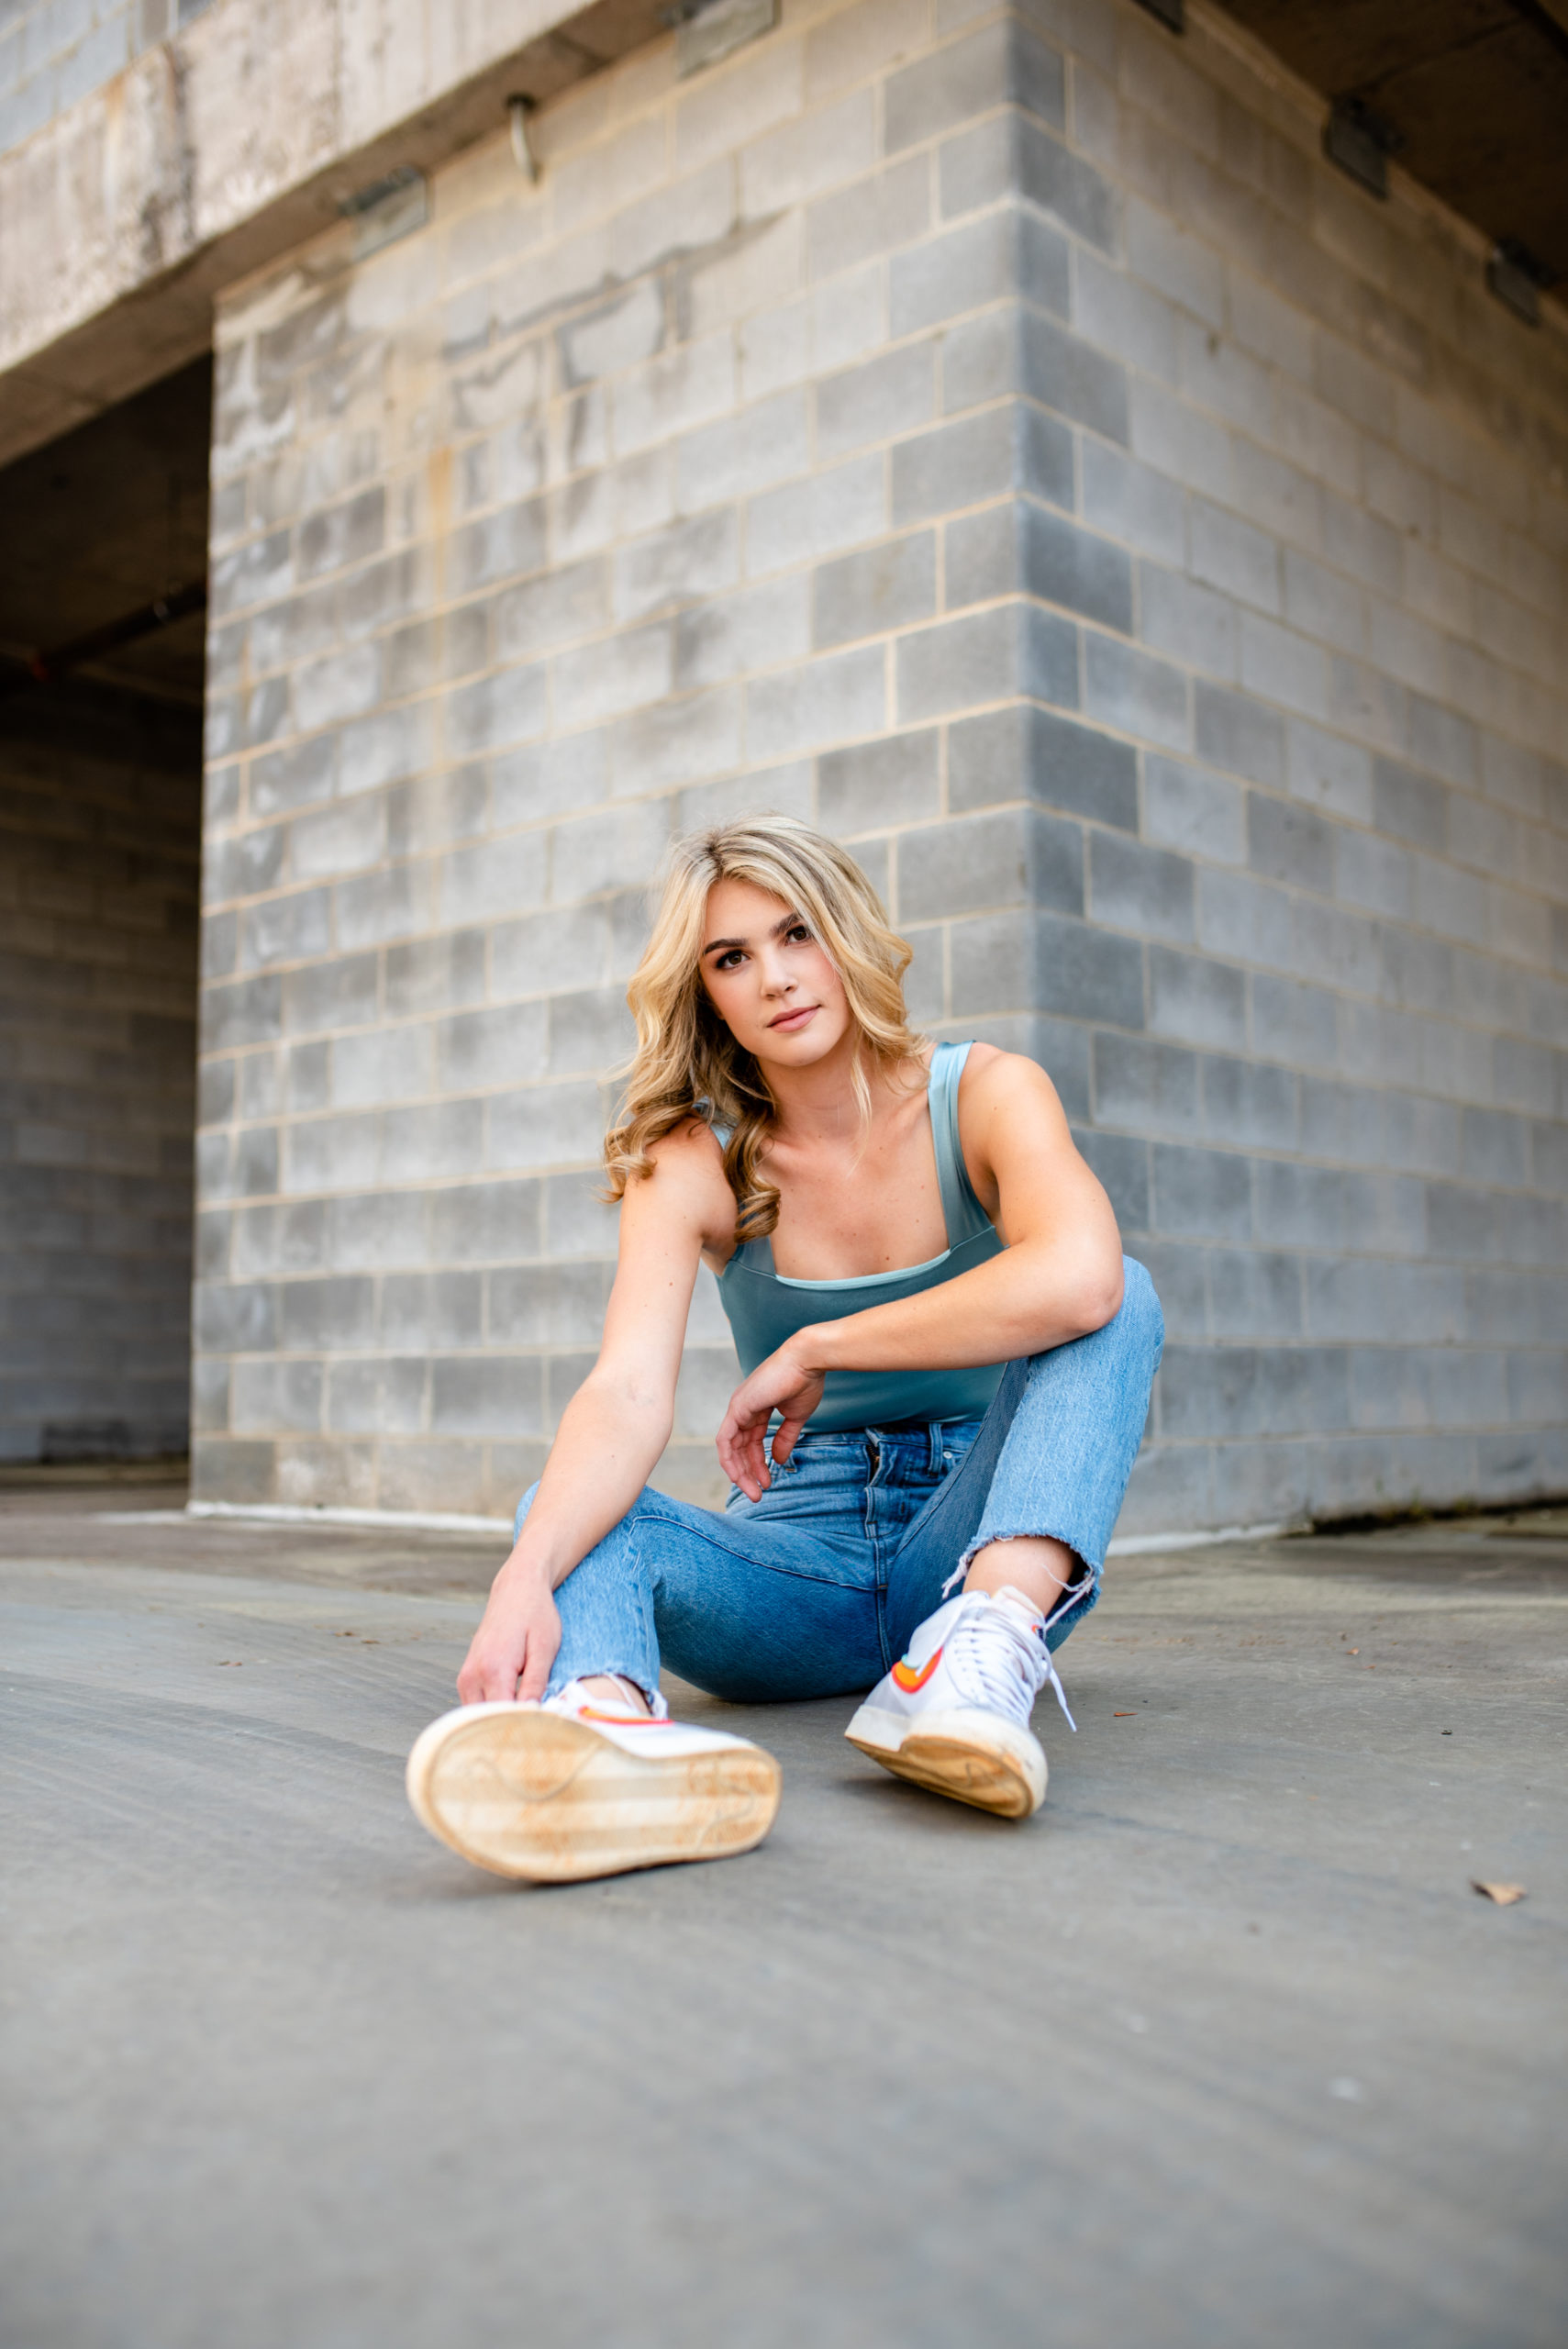
Let’s talk about senior posing. Have you ever been nervous before a senior session, wondering about what poses you will do? Or have you ever gotten in front of your beautiful senior client and then all of a sudden….you blank?? Not a single idea or pose comes in your head and inside you totally panic?
I’ve been there too, my friend! It is not a great feeling! Which is why I love to help other photographers with posing for seniors. I don’t want anyone getting that feeling on a senior session!
When it comes to posing seniors, the first thing to do is breathe! Let go of the fears and nerves because you’ve got this! Now let’s dive in to my senior posing formula that will help you on your very next senior session and give you a session full of variety to show your senior client!
The Senior Posing Formula = Composition + Lens Choice + Expression + Pose
The first thing to remember when it comes to posing seniors is that the actual pose is only part of the equation. You also need to factor in the lens you choose to use as well as the way you shoot the pose and your senior’s expression. Composition makes up a good portion of posing. The same exact pose can look drastically different depending on how you shoot it and what lens you are using. The same thing can be said about the same pose with different expressions on your senior’s face, from smiling to not smiling. So you don’t need 1000 different poses on one session to get a huge variety of looks. You only need a few key poses, shot a in different ways with different lenses and expressions from your senior and you’ve got yourself a complete posing system!!
When I first started with senior photography over ten years ago, I thought I had to have a new pose for every single location, every single outfit and it stressed me out! There was no way I could come up with that many different poses for every single senior session. So I developed a flow of poses that I use on every single session that allow me to get variety by using these poses combined with different lenses, different angles and different expressions. Now I stress a lot less and get amazing photos for each and every one of my senior clients. And you can stress less too!
Let’s break down the formula…(if you want to see this formula in action, click here!)
Composition
This is the way you shoot the image. Where you are in relation to your client, the angle you are shooting from and the orientation of the shot are all part of composition. In order to get variety in your pose, you need to make sure you have a few different angles for every pose. So instead of always moving your client, move yourself. This will allow the client to stay in the same position while you get a variety of shots all around them.
Try walking around your client in a semi circle so you shoot from different angles as well as straight on. Make sure to change your camera from horizontal to vertical as well as move in closer and move farther away to get the maximum out of each and every pose.
Lens Choice
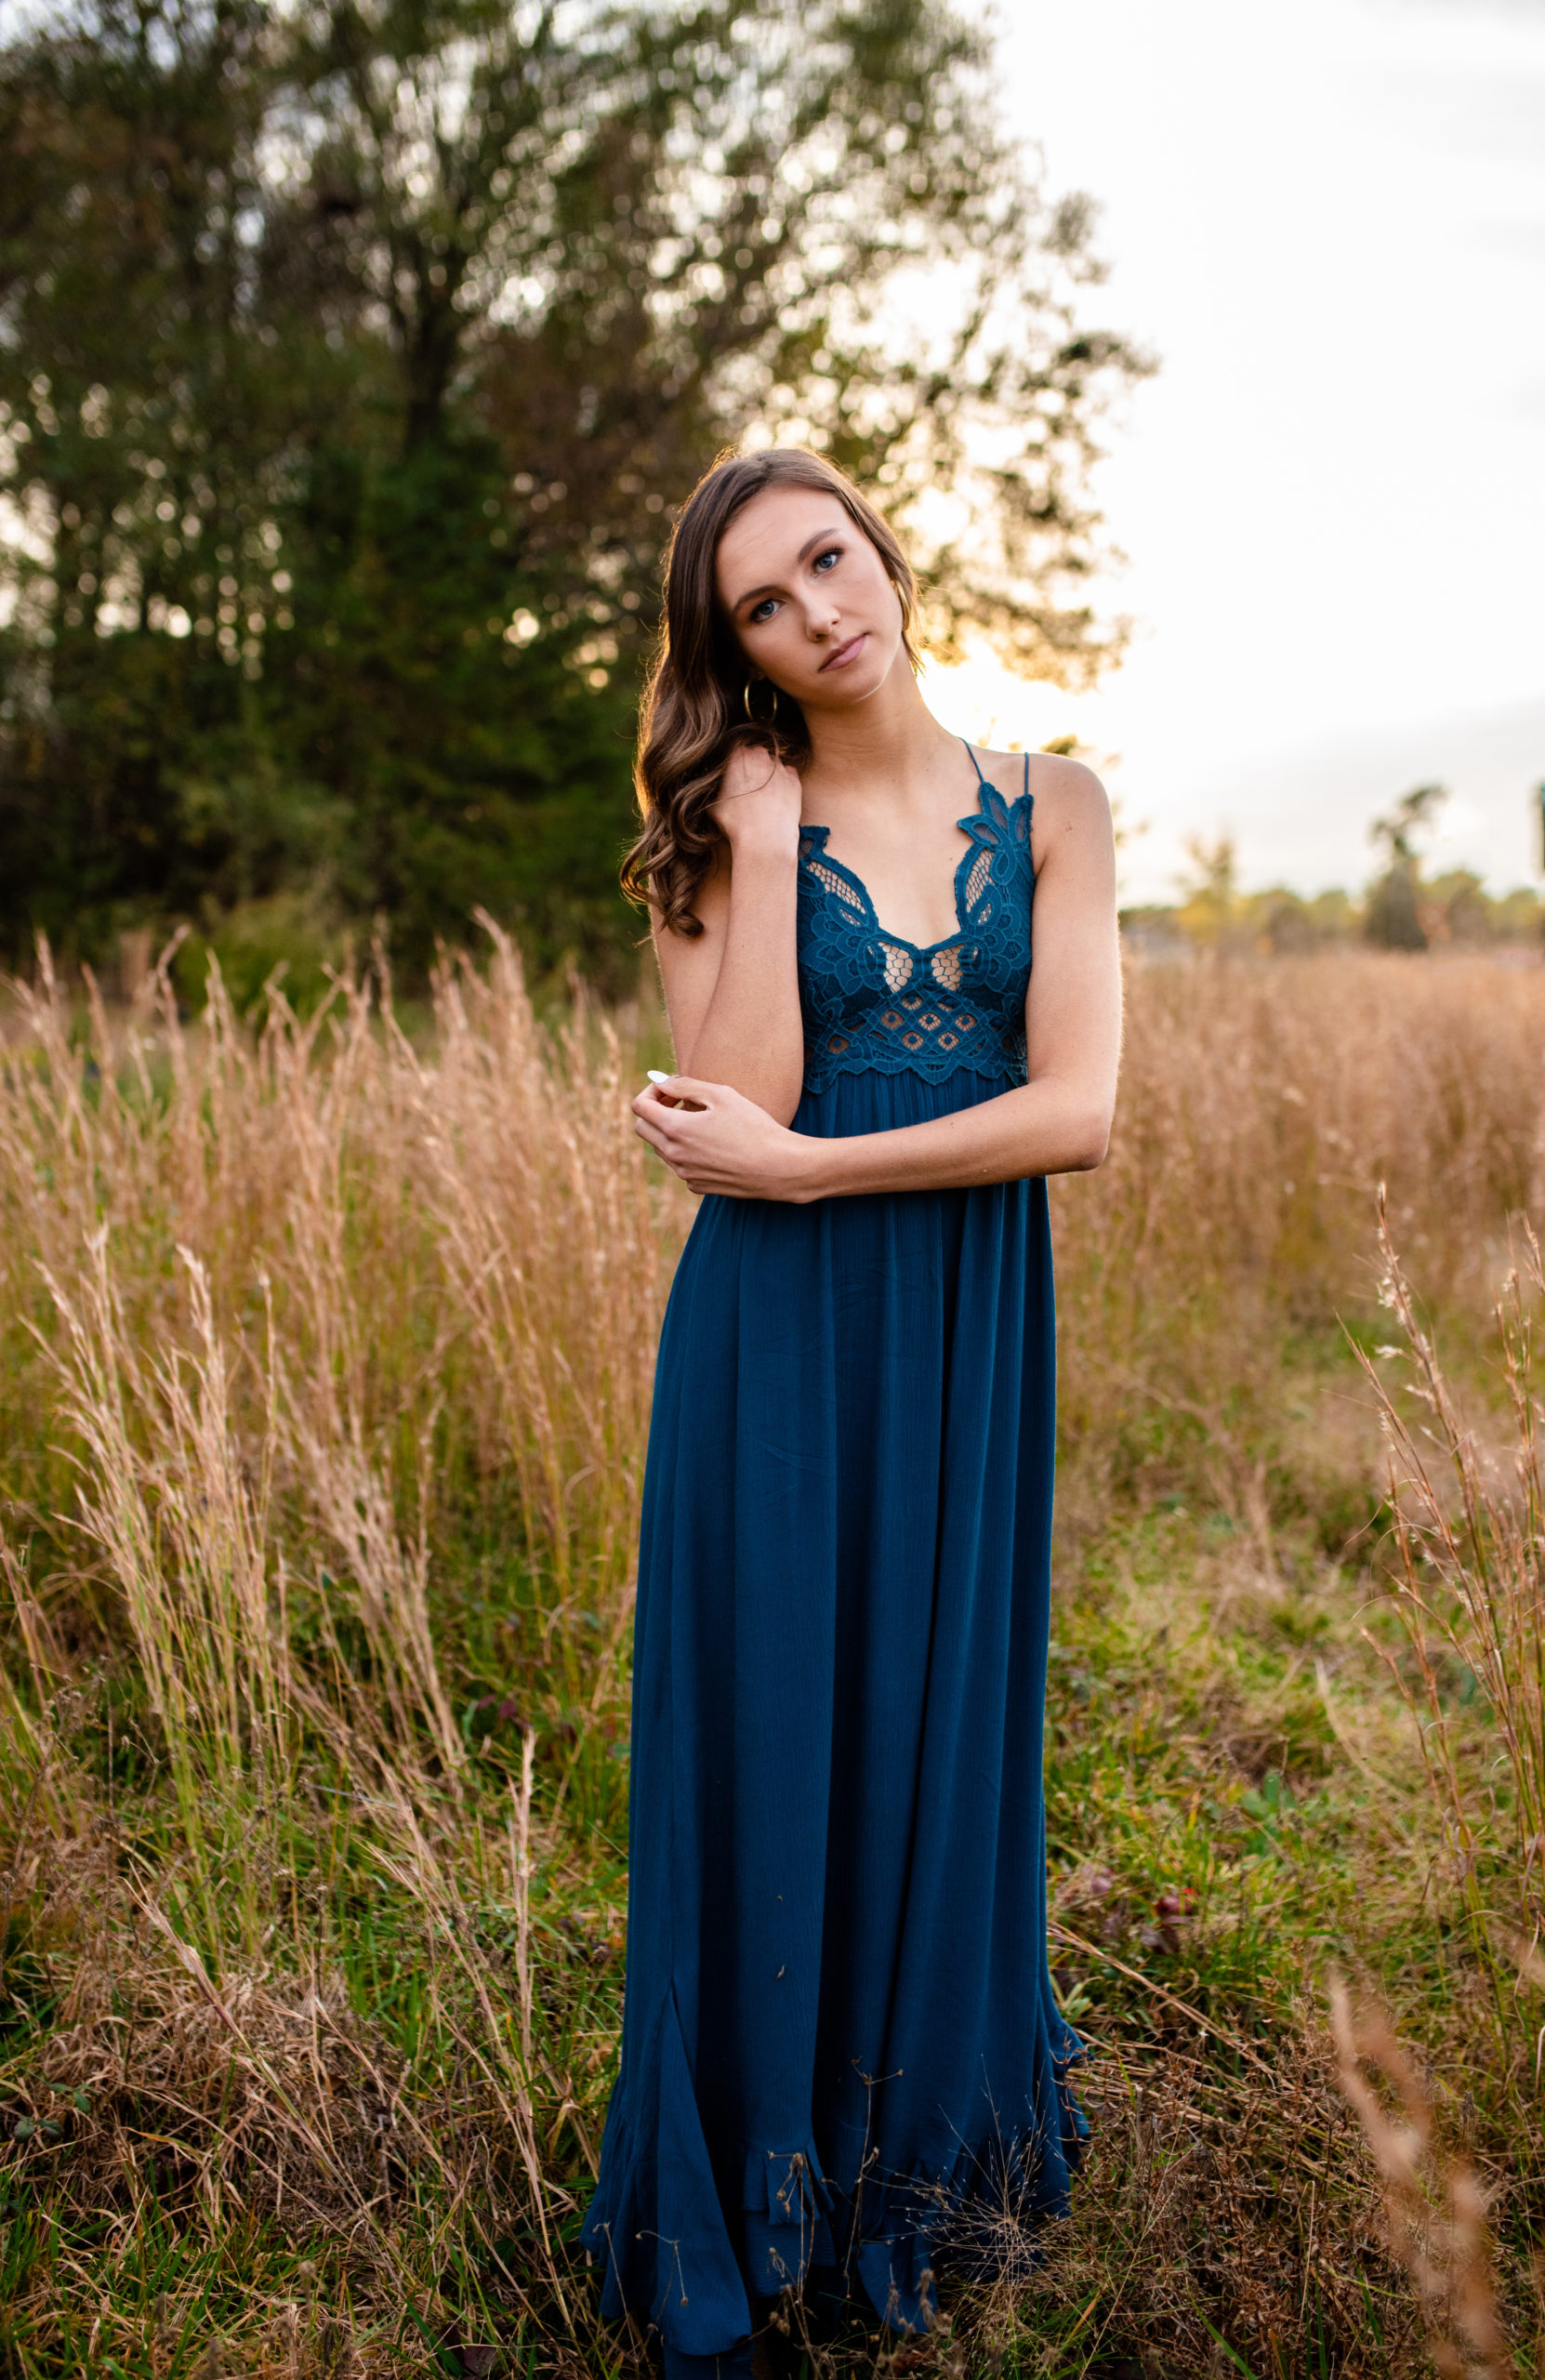
By choosing different lenses, we can change up the way a pose looks. From using a lens like a 35mm that allows you to get a lot of the background in with the subject to using an 85mm which will blur and compress the background and give you a completely different look. Look at these examples below….
Expression
Getting true expressions from your senior clients can make or break a pose. You could have an amazing pose but if your senior’s expression isn’t natural then the photo won’t be perfect. Try having them alter between a big smile to a soft smile to a no smile. Coach them through these and show them an example of what you mean by doing it yourself. Now before you say “I don’t know how to do that,” practice in the mirror! If you can’t do it, then they won’t be able to do it either. You have to show them what you mean.
Remember the days of America’s Next Top Model and Tyra Bank’s Smize….practice it! Smile with the eyes and not the mouth to get that perfect no smile (aka resting *blank* face) :). And if you can’t do it perfectly, don’t worry! Because if all else fails, you will make them laugh and be able to capture that natural expression!
Another great way to get natural expressions from your seniors is to talk to them. Ask them questions or give them prompts that will get them feeling comfortable and express different emotions. Be sure to send out a senior questionnaire to every client and brush up on their answers before the session so you have talking points during the session.
Pose
This is the part you’ve been waiting for…the actual pose! Think of posing like a flow of poses. Little movements or shifts can make a big difference without having to drastically change the pose every single time. Little movements can include slightly changing the hands, shifting their weight or changing the direction they are looking.
My posing flow consists of six key poses: standing, leaning, moving, squatting, sitting and laying. These six key poses will allow you to create a variety of poses within each by remembering the other parts to our formula – composition, lens choice and expression.
When it comes to standing poses, get the feet right first. Make sure you always have your client put their weight on one leg and change up how they position their legs. A few options are one leg to the side, one toe pointed and knee bent or one leg crossed over the other.
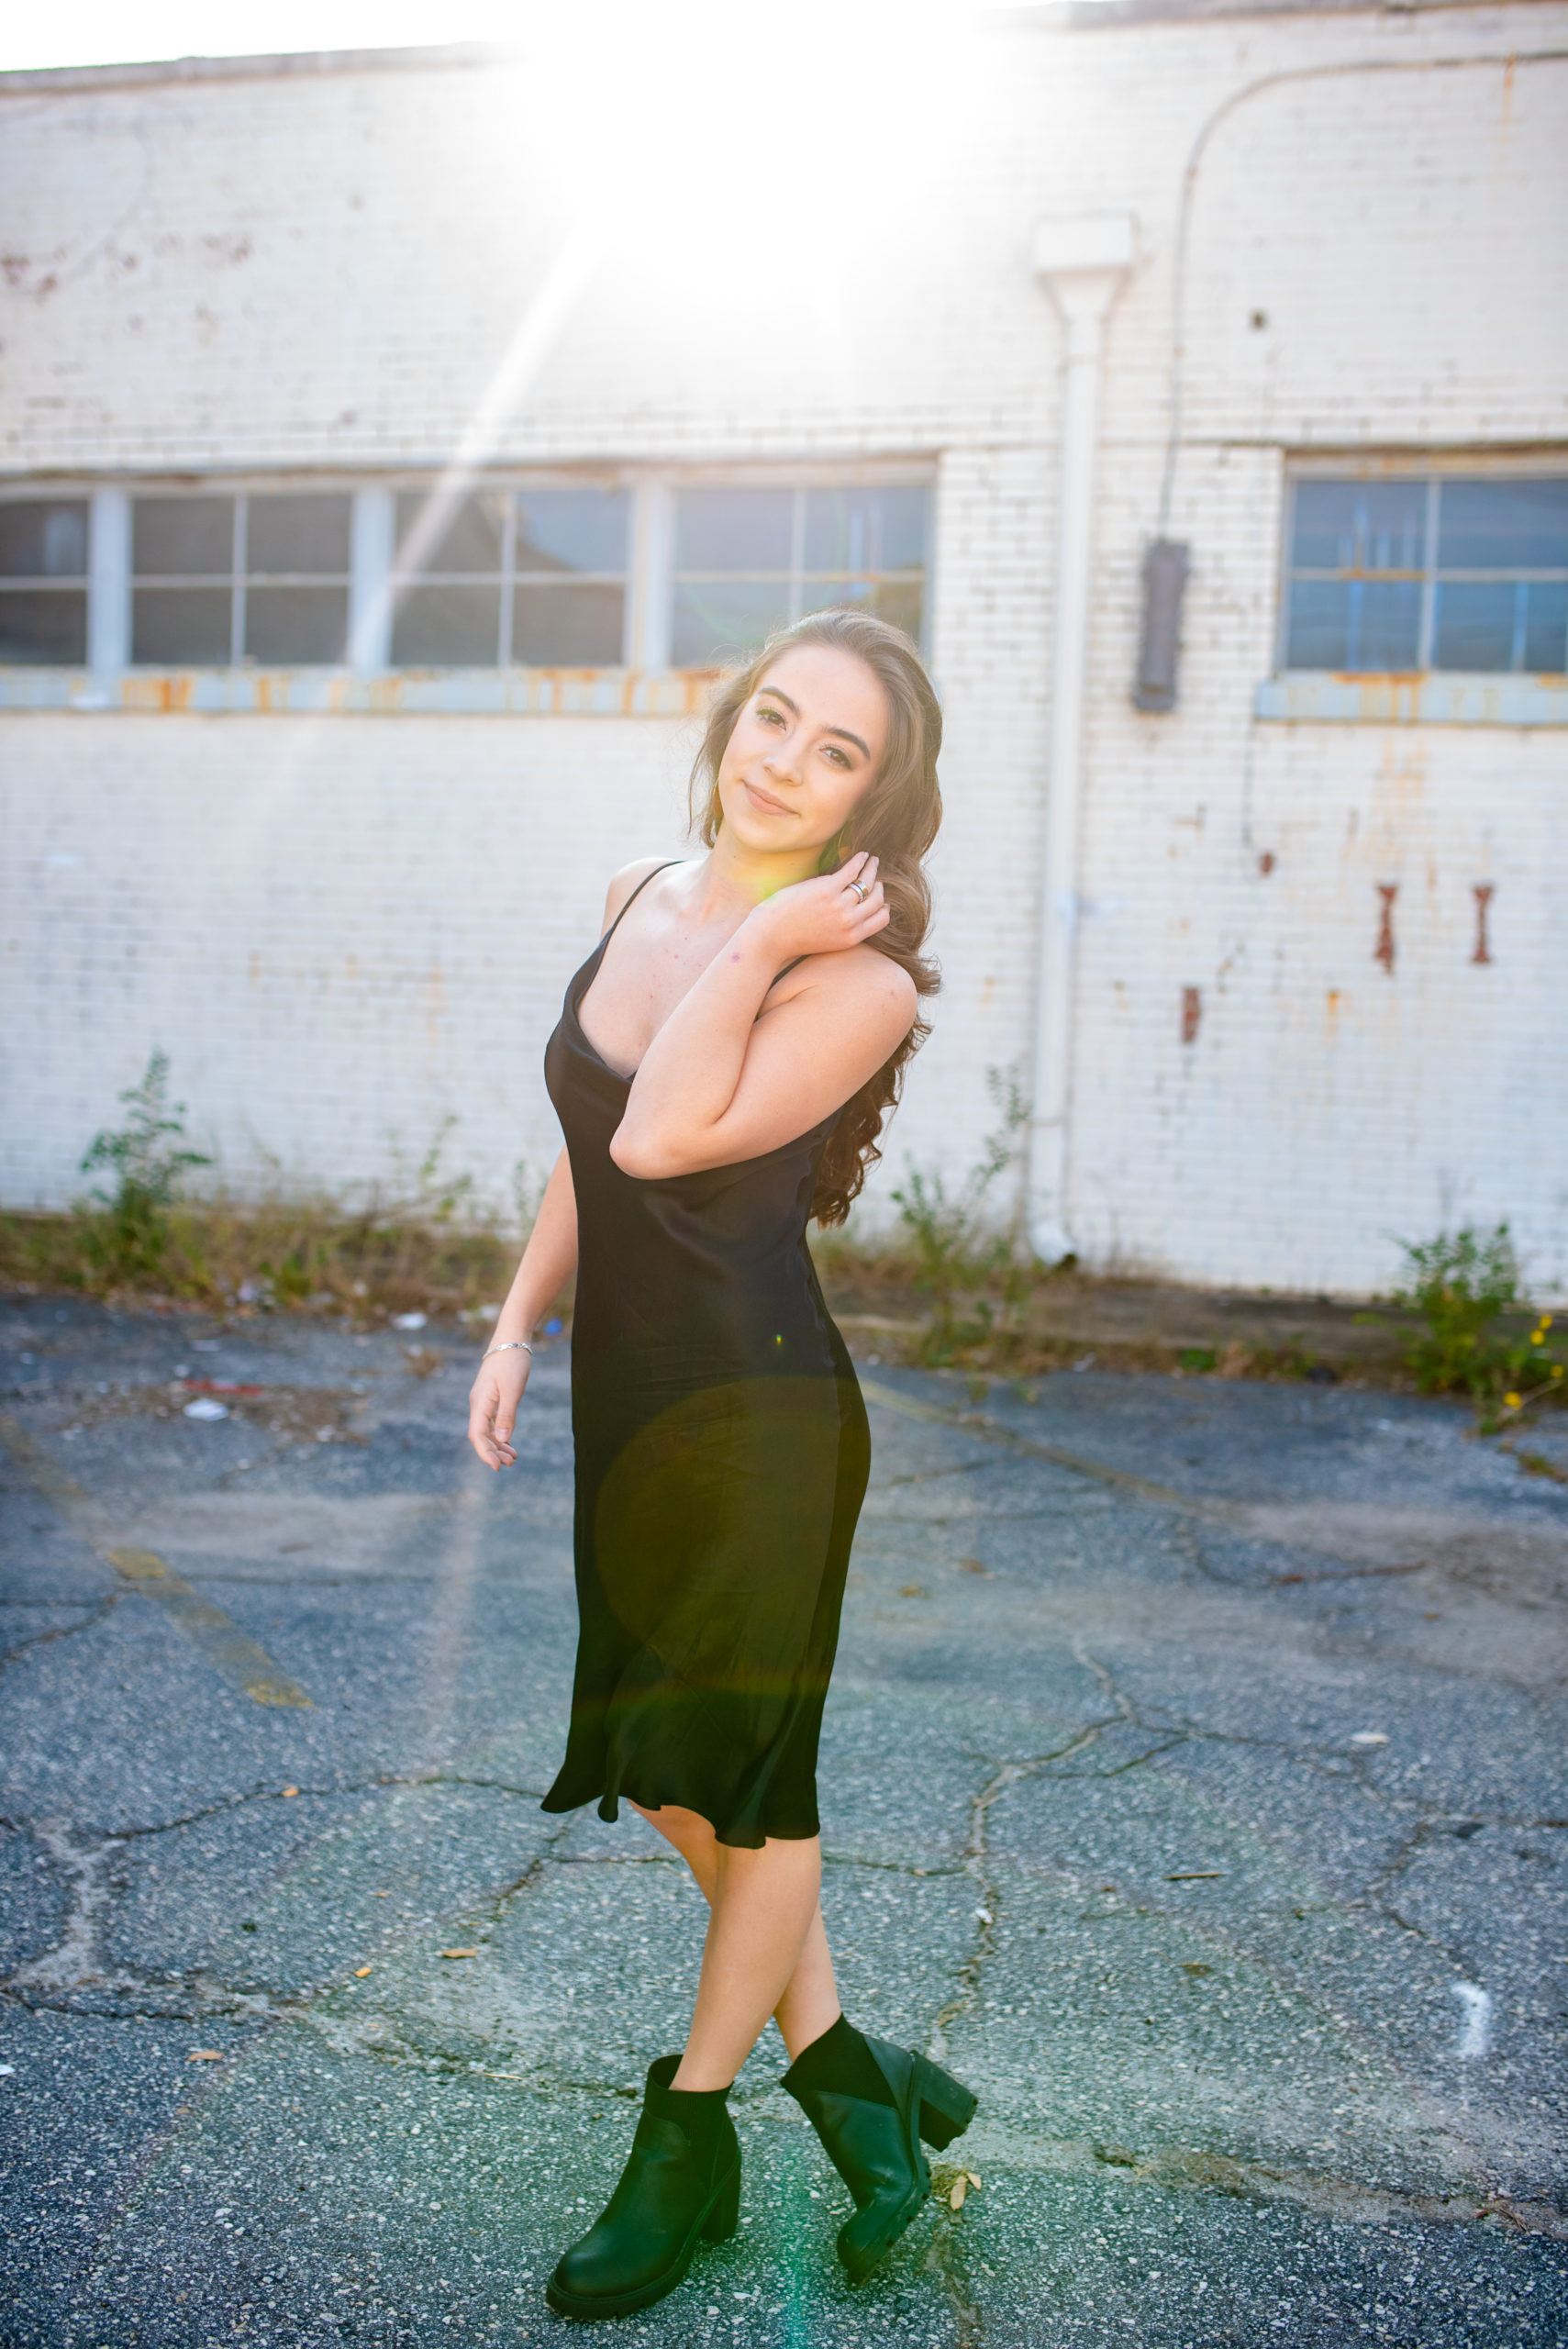
Next, position the hands and arms. Start with one stationary hand such as a hand on a hip or thumb in a pocket and move the other hand to various positions such as hand on head, hand by neck, hand twirling hair or place the second hand in same position as first as in on hip or thumb in pocket.
By placing your client in one standing position and cycling through a few different hand/arm positions you have a variety of poses within one key pose. Then you can change their feet slightly and go through the same hand/arm placements again and have even more poses.
If you are at a location that has a wall or a column, move into the leaning pose position. Get the feet right first, then have your senior place her hands in different positions and snap away. Make sure you aren’t forgetting the composition, lens choice and expression so you are getting a ton of variety within each pose.
After you have done the standing poses, it’s time to get your senior moving! I love to bust out a walking pose after the standing poses because it allows my senior time to reset their body. Getting them moving loosens them up after standing in specific poses for a bit. Examples of moving poses consist of walking toward the camera, walking away from the camera, twirling or simply shifting their weight back and forth. Tell your senior to have fun when moving and you snap away!!
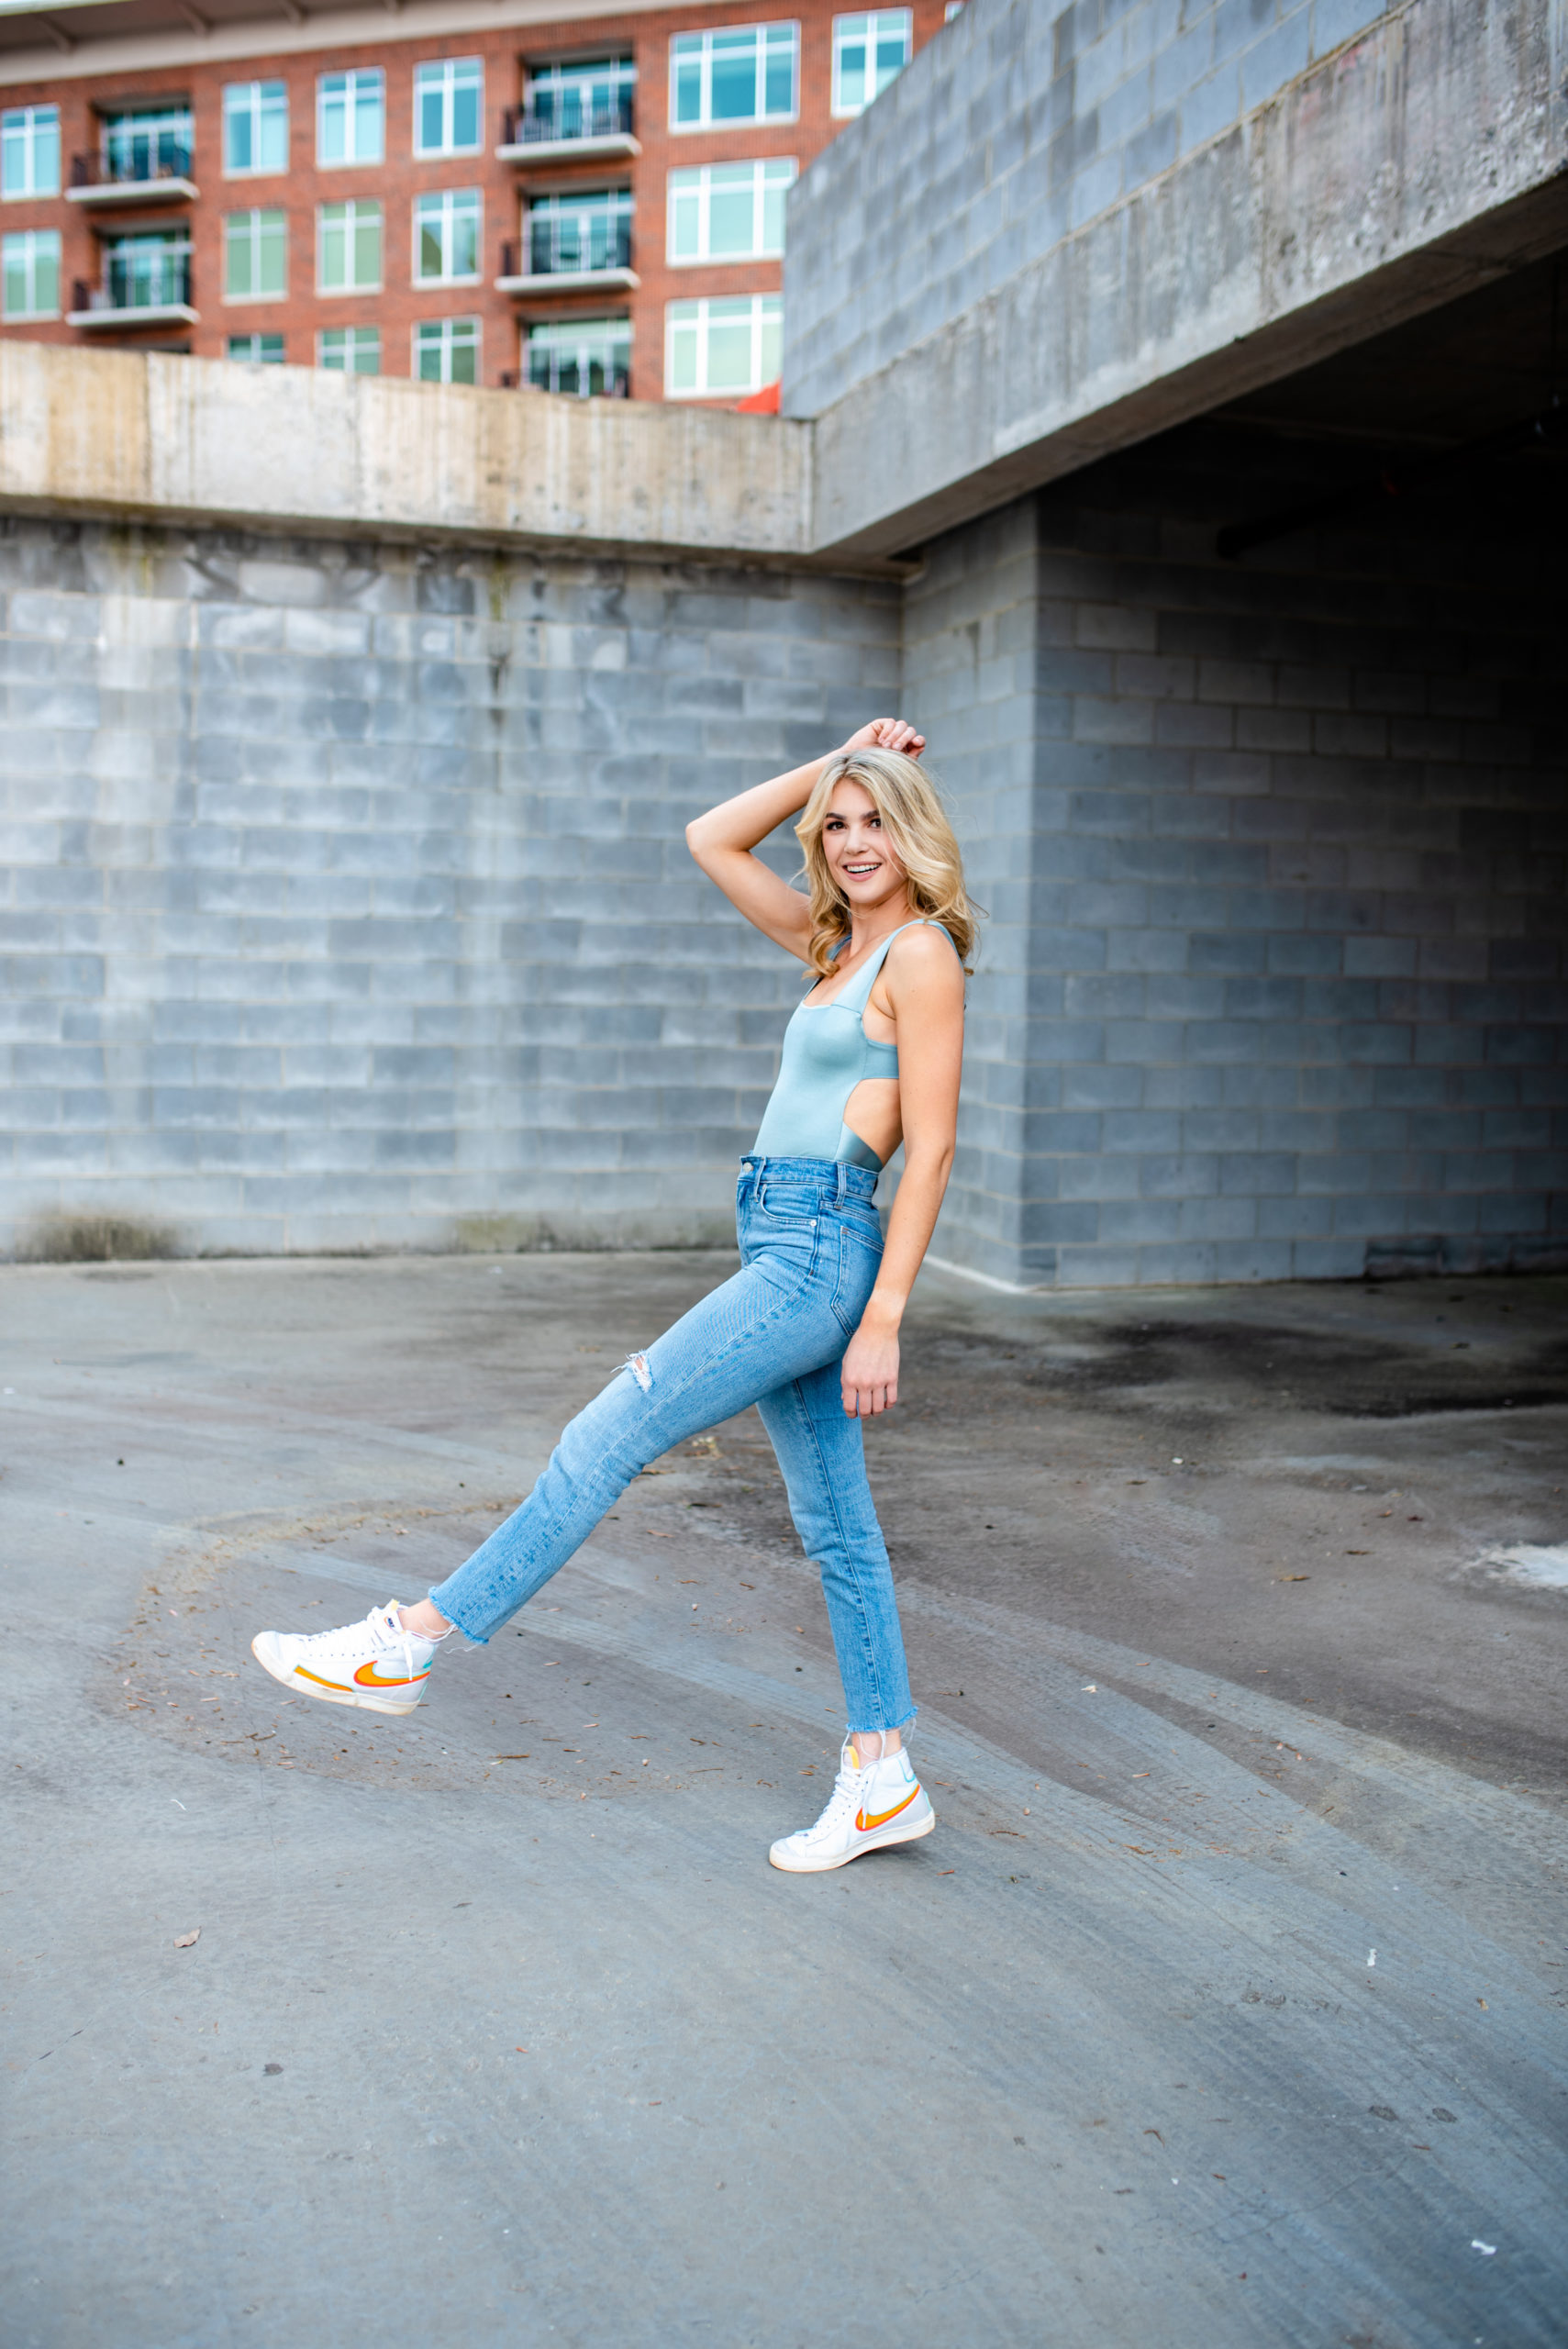
Move into the squatting, sitting and laying poses next. Again, start with the feet and leg position first, making sure to adjust their position depending on the clothing the senior is wearing. If your senior is wearing a dress or skirt, make sure to position the feet and legs in a manner that works for that type of outfit. Once the feet and legs are positioned, have your client cycle through the different hand placements and snap each. And again, don’t forget composition, lens choice and expression.
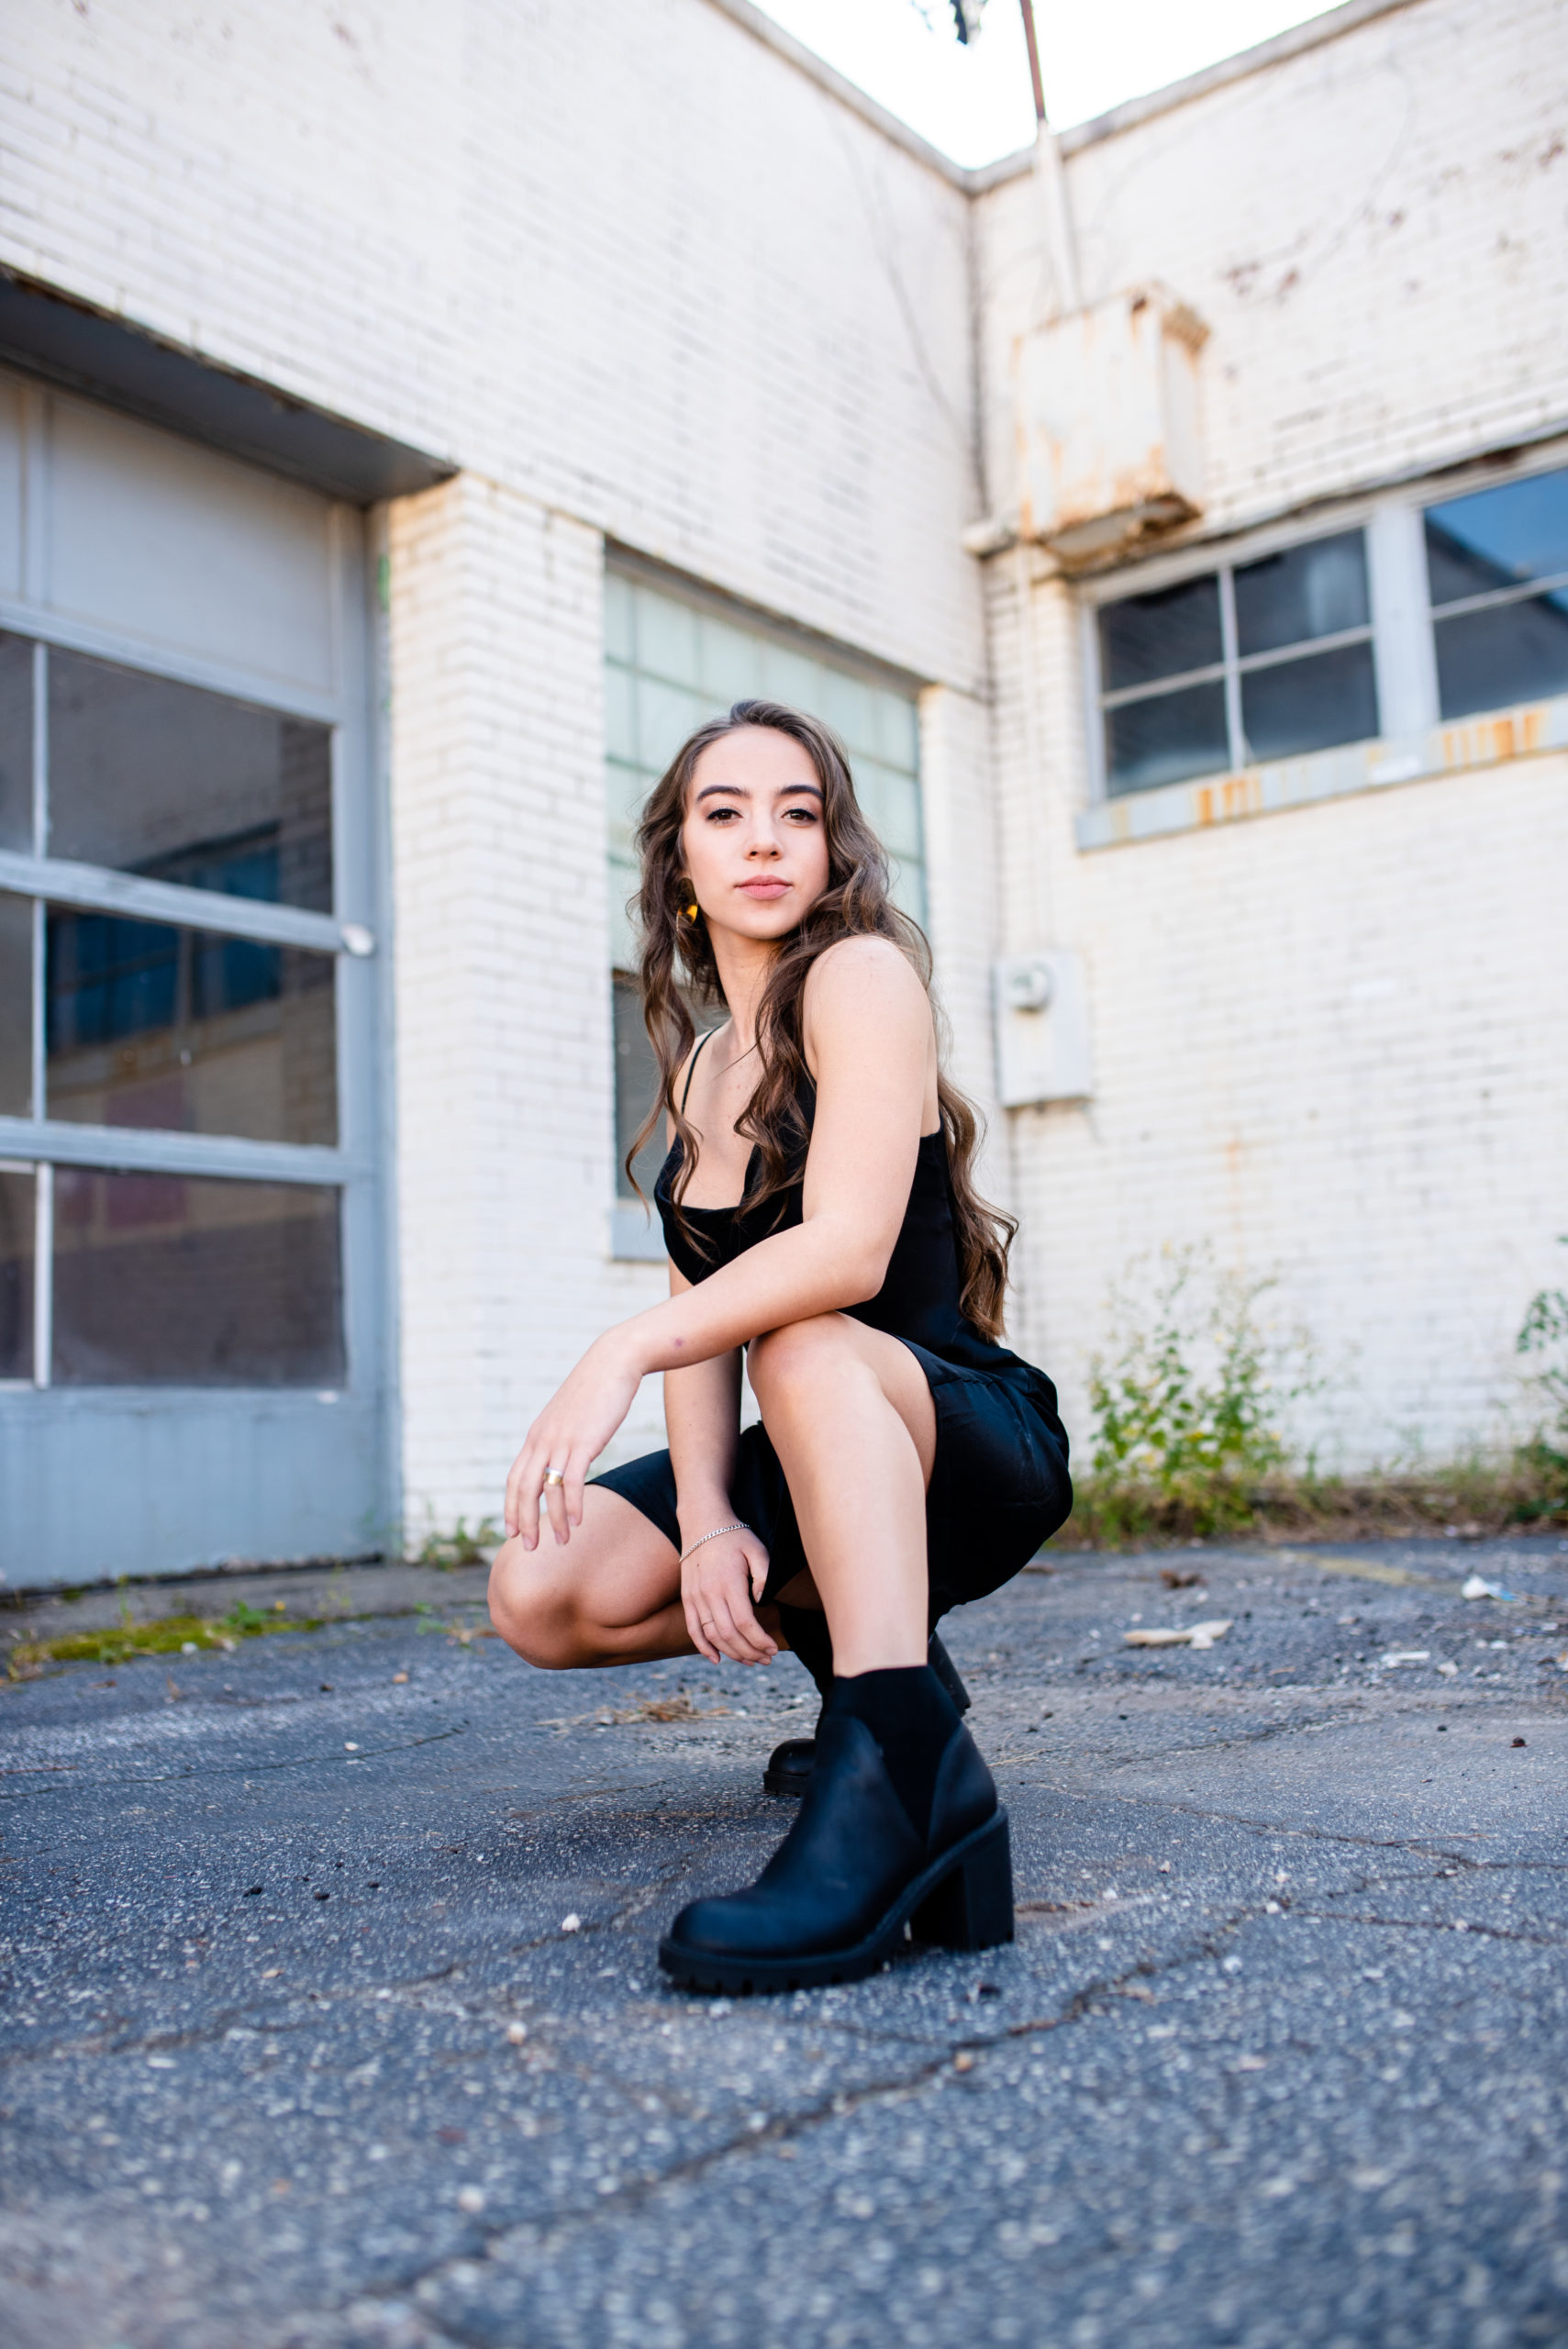
You see the theme here, right? By having a key set of core poses then changing the feet and hands slightly while changing your composition, lens and the expression of the senior, you are creating a photo session full of variety by only having to remember six poses! I don’t know about you, but remembering six for me is a lot easier and my sessions have never had more variety!
If you want to see this posing formula in action, you can watch me on a senior session by CLICKING HERE to get instant access to the number one pose you have to get on every senior session and how that pose can turn into five or more poses!!
And for more help creating a successful senior photography business, be sure to check out my other courses and free guides as well as The Seniorologie Shop here!
Happy Posing!!
Xoxo,
Leslie
Leave a Reply Cancel reply
Join us on the daily & keep up with all that's happening over on Instagram!
Home
about
Education
Seniors
Shop
Contact
the blog
Coaching
FREEBIE